FREE 1 to 3-Day Delivery on Orders $119+ Details

How to Install Teraflex Removable Mud Flaps on your 87-18 Jeep Wrangler YJ, TJ, JK & JL
Installation Time
1 hours
Tools Required
- Basic set of SAE & Metric Wrenches
- Basic set of SAE & Metric sockets
- Drill and Drill Bit 17/64
- Hack saw
- Recommended Tools:Cut off tool
- Welder
- Grinder
Bolting Procedures
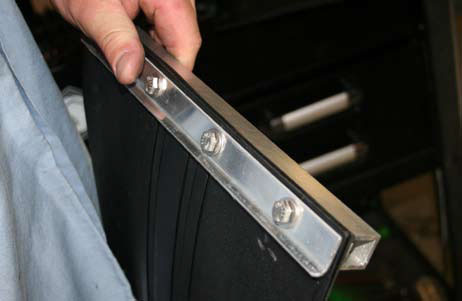
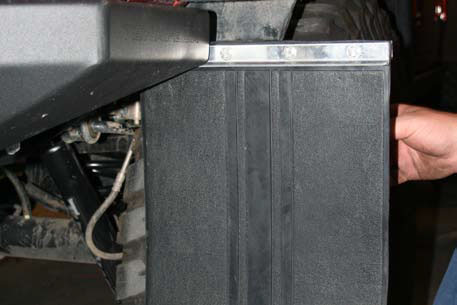
1. Insert bolts with washers through aluminum bracket clamp with the bend of the clamp at the bottom going away from the mud flap, line them up onto mud flap, and press the bolt through the mud flap. (Photo #1)

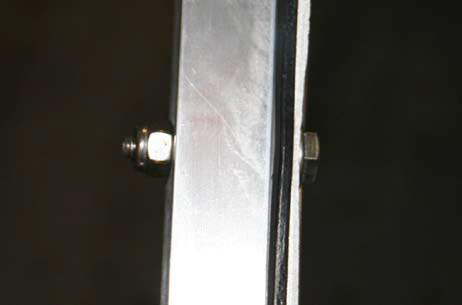
2. Place mud flap onto the mounting bar and install locking nuts on the back. Make sure that you do a left and a right. (Photo #2)
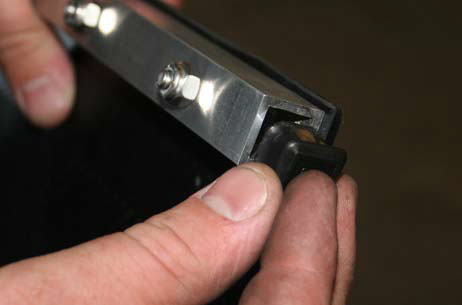
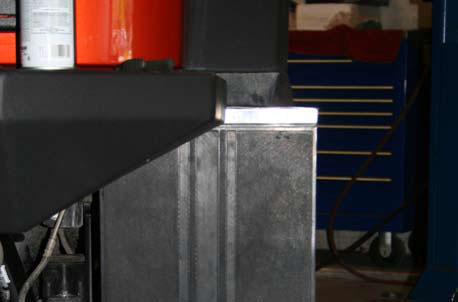
3. Insert plastic cap on the outside of the bar. (Photo #3)
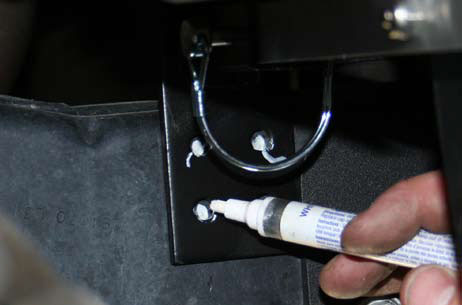
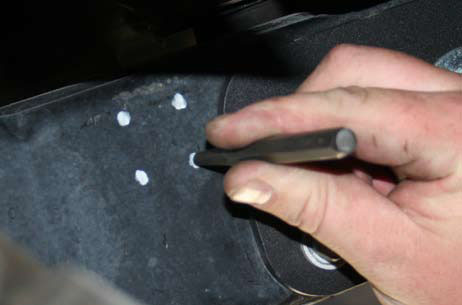
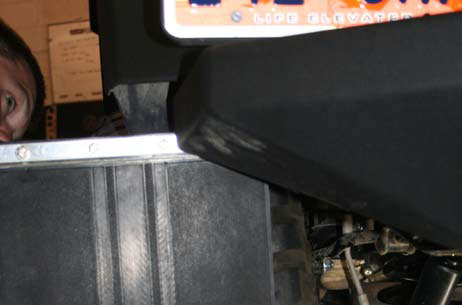
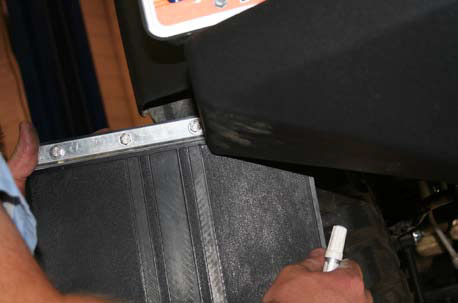
4. Place bar into bracket and hold it up to the frame and see where it looks good. Remember these are universal mud flaps so every application is different. Use your best judgment to see where the look best, or have someone look from the back and tell you where they look straight, then mark the holes with a paint pen or silver sharpie. (Photo #4,5)

5. Use a center punch to mark center of hole. (Photo #6)
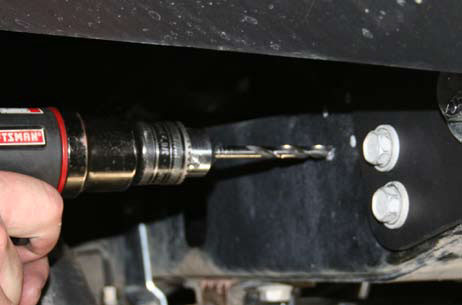
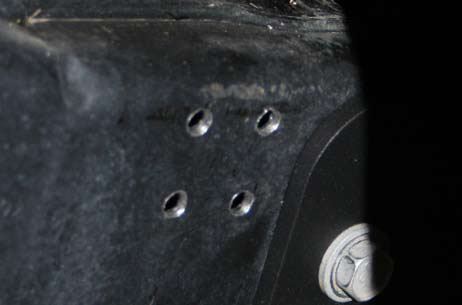
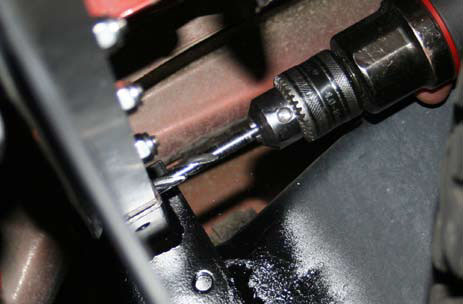
6. Drill out four holes with a 17/64 drill bit.(Photo #7,8)
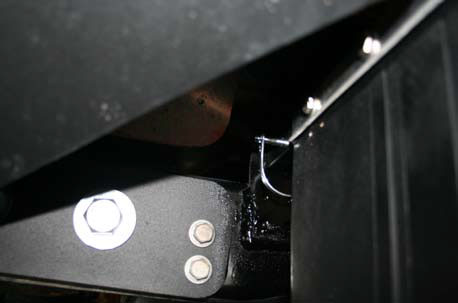
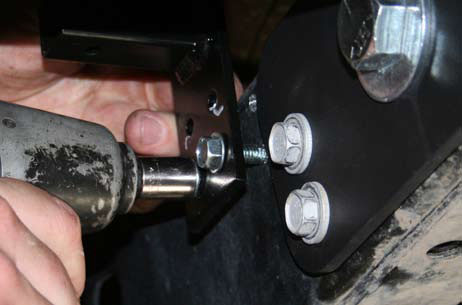
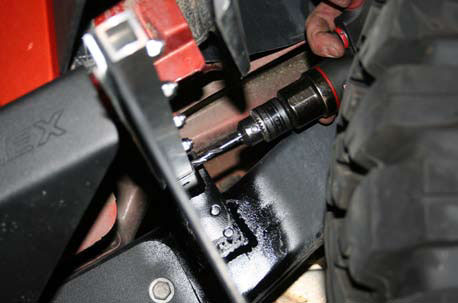
7. Place bracket onto frame and use a ½ Socket to drill self tapping bolts into the frame. (Photo #9)
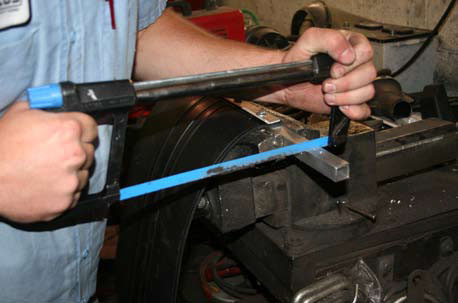
8. Insert bar into bracket and see how it covers the rear tire. You may need to trim it so the mud flap is covering the width of the tire. Trim to fit. (Photo #10,11)
9. If you cut the bar, mark where you need to drill your new pin hole and drill it with 17/64 drill bit. (Photo #12)
10. Install bar and spring pin
Welding Procedures
11. Insert bolts with washers through aluminum bracket clamp and line them up onto the mud flap and press the bolt through the mud flap (photo#13)
12. Place the mud flap on the mounting bar and install the locking nuts on the back of the bar. Make sure that you do a left and right mud flap. (Photo #14)

13. Insert plastic cap on the outside of the bar. (Photo #15)

14. Place bar into mounting bracket and hold it up to the frame and see where it looks good. Remember these are universal mud flaps so every application is different. Use your best judgment to see where the look best, or have someone look from the back and tell you where they look straight, then mark around the bracket so you can see where you need to prep the frame for welding. (Photo #16)
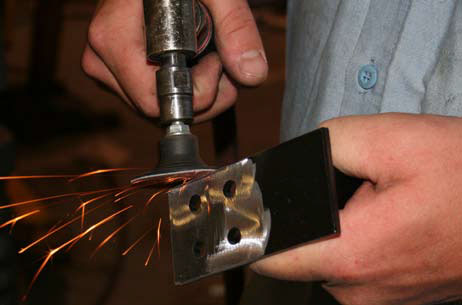
15. Clean powder coat off bracket where you will weld. (Photo #17)
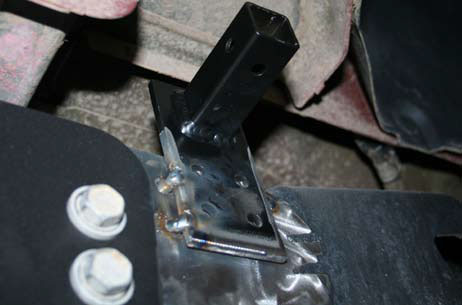
16. Place mud flap onto frame and tack weld where you think it looks good, double check by standing back and looking see if you need to make adjustments before your final welding. (Photo #18)
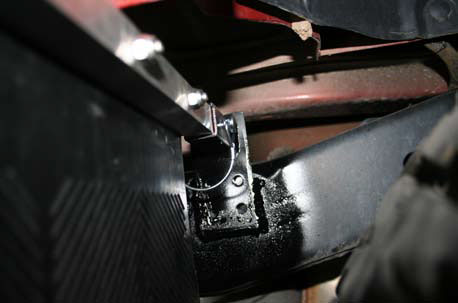
17. Once brackets are welded in place paint the welded area to protect from rust and corrosion. (Photo #19)
18. Insert bar into bracket and see how it covers the rear tire .You may need to trim it so the mud flap is centered over the tire. Trim to fit. (Photo #20, 21)
19. If you cut the bar, mark where you need to drill your new pin hole and drill it with 17/64 drill bit. If your drill fits drill it out with it installed in the bracket. (Photo #22)
20. Install bar and spring pin (Photo #23)